How to Make Your 3D Printer Earn Its Keep by Switching to Practical Prints
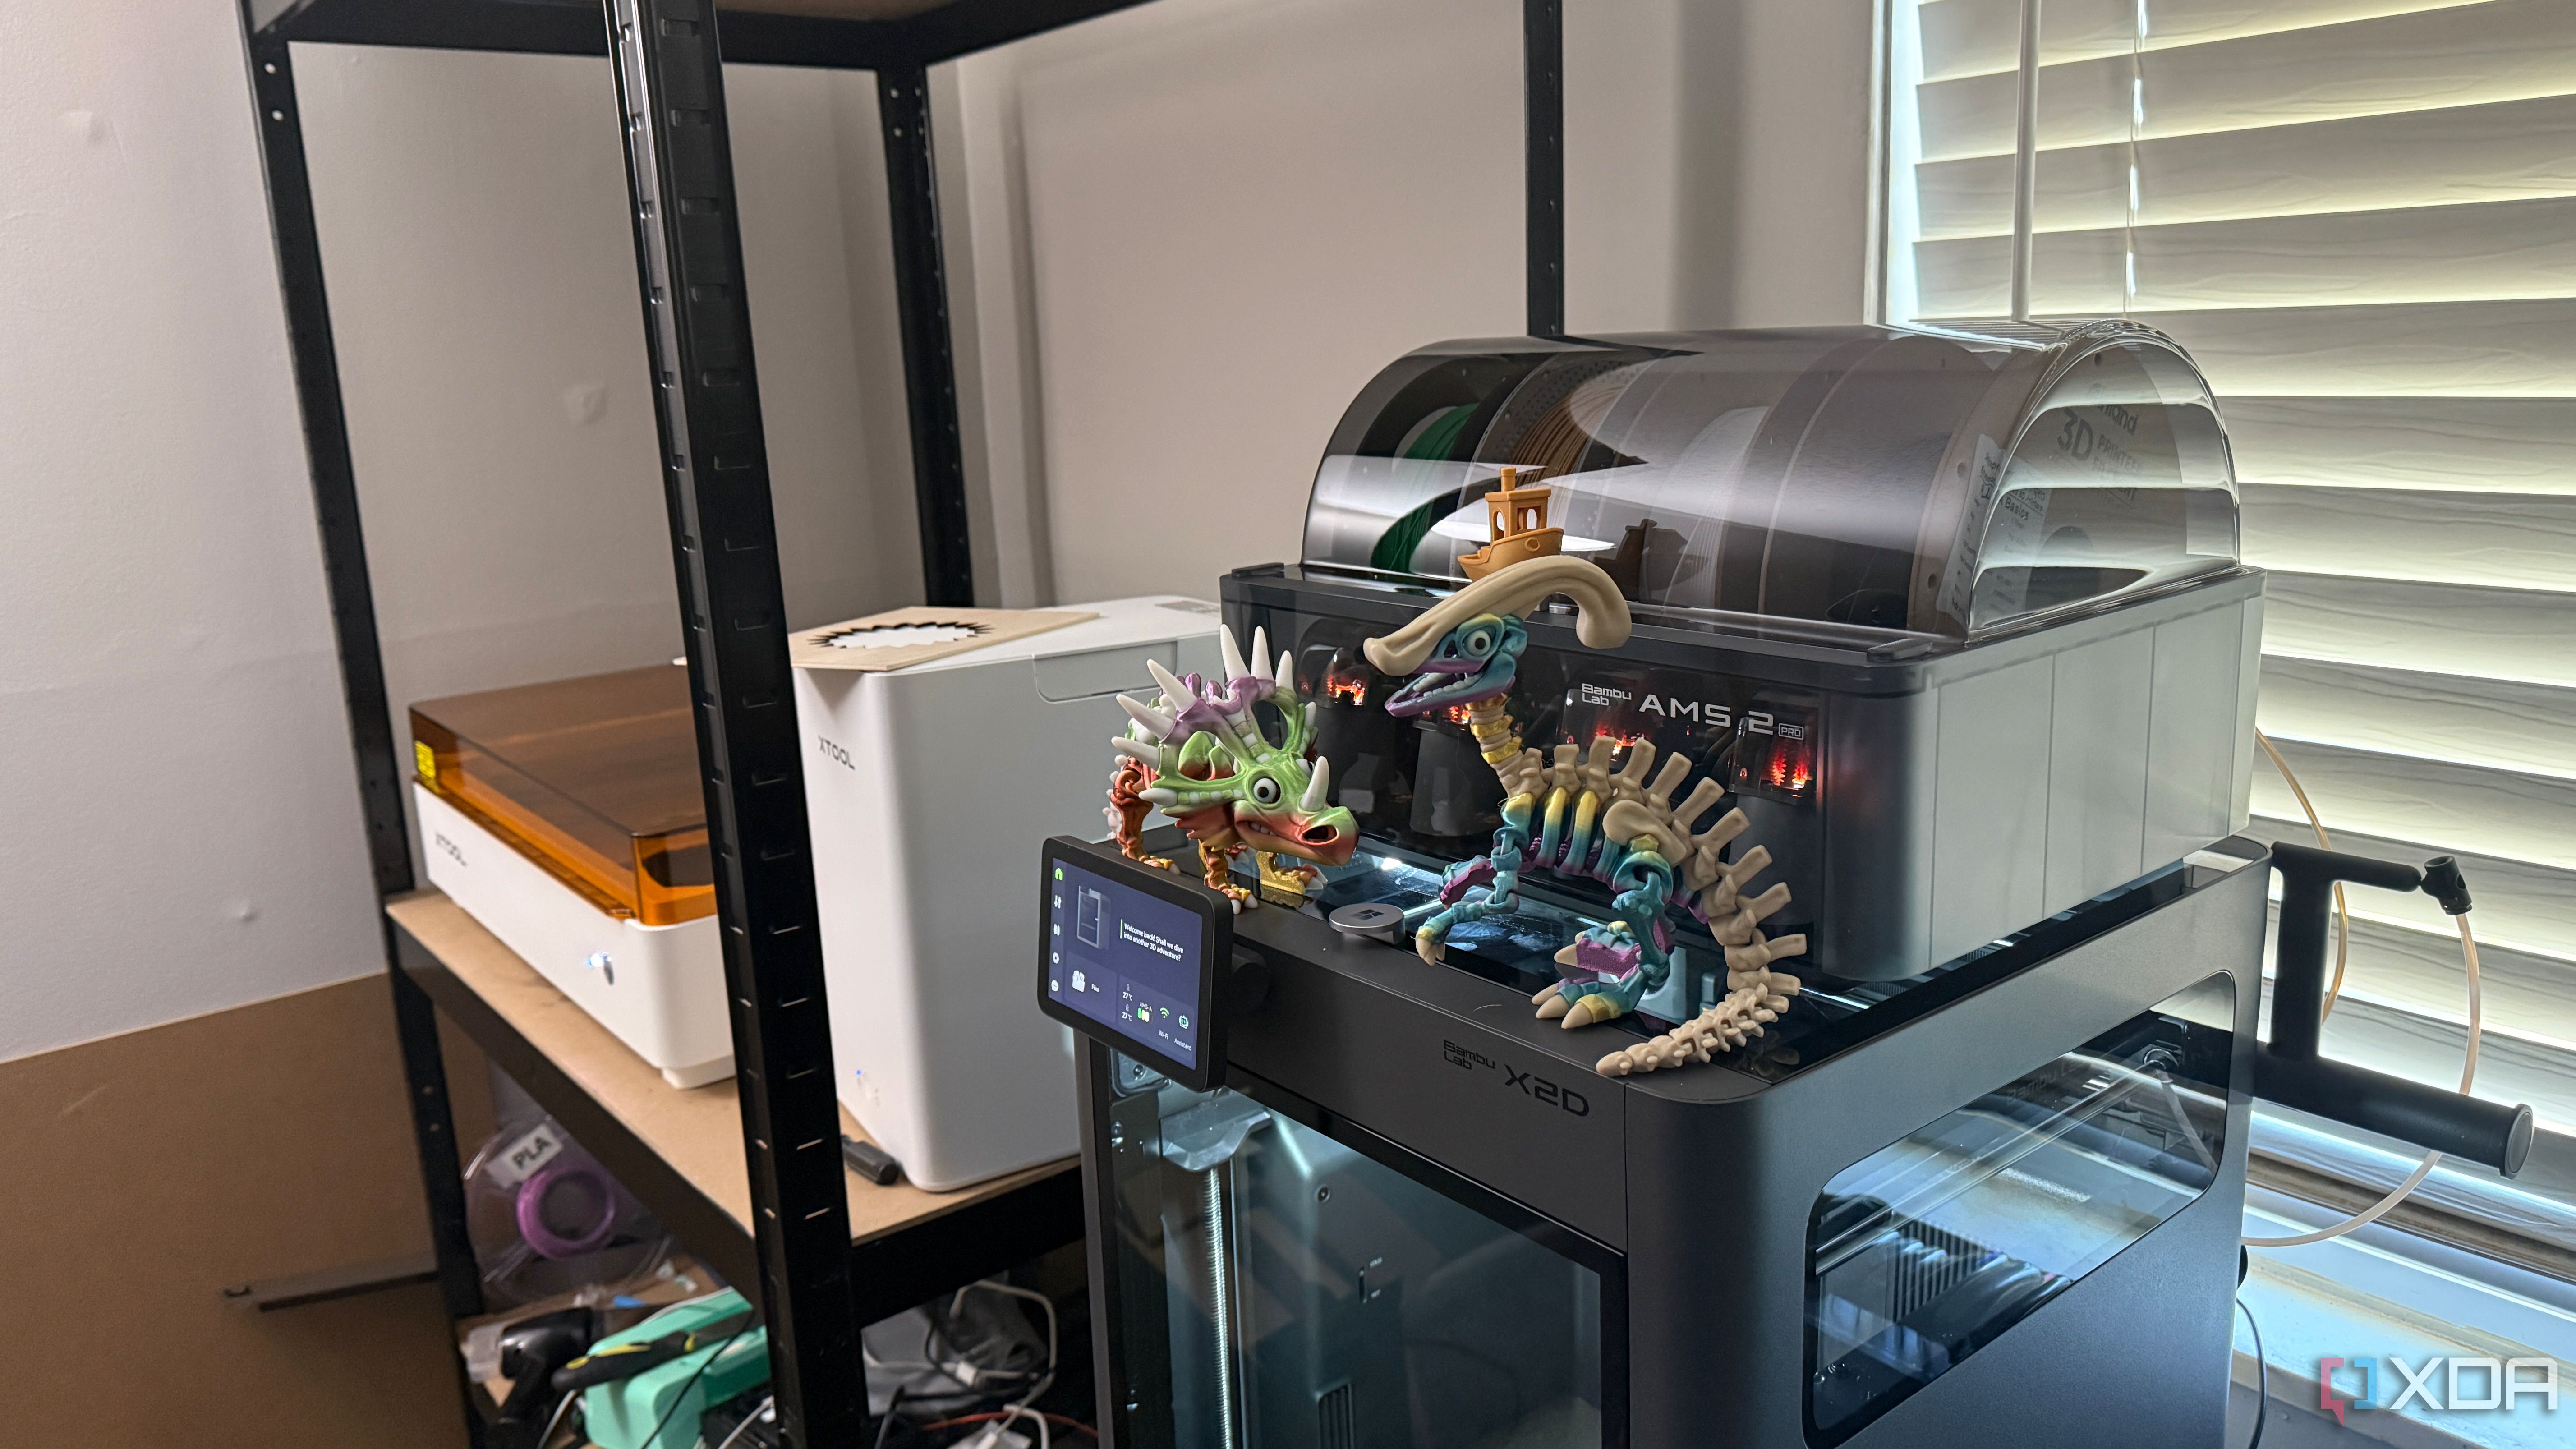
When you first get a 3D printer, it’s easy to get caught up in the excitement of printing dragons, articulated sharks, and other flashy objects. That thrill fades quickly when you realize those prints end up collecting dust, while your printer remains an expensive hobby that doesn’t justify its cost. The real secret to making your printer pay for itself is to stop chasing cool designs and start printing boring, functional items. This guide will walk you through the process—from shifting your mindset to seeing real savings in your wallet.
What You Need
- A 3D printer (FDM or resin) in good working condition
- Filament or resin appropriate for functional parts (PLA+, PETG, ABS)
- A reliable slicer software (like Cura or PrusaSlicer)
- Basic modeling skills or access to free design tools (TinkerCAD, Fusion 360)
- Calipers and a measuring tape for taking dimensions
- A set of common household items that need fixing or organizing
- Optional: Digital calipers for precise measurements
Step-by-Step Guide
-
Step 1: Audit Your Current Printing Habits
Before you change anything, take a look at your recent prints. How many are purely decorative? How many have broken or been thrown away? Make a list. The goal is to identify how much time and material you’ve wasted on objects that don’t add value. This sobering tally will be your motivation to refocus.
Source: www.xda-developers.com -
Step 2: Identify Everyday Household Needs
Walk around your home and look for things that are broken, missing, or could be improved. Common candidates: broken drawer handles, missing shelf clips, cable organizers, phone stands, custom containers, or spare parts for appliances. Write down each need and prioritize those that would cost money to replace.
-
Step 3: Learn to Design Simple Functional Parts
You don’t need to be a CAD expert. Start with TinkerCAD or Onshape. Practice designing a simple cube with a hole, then a phone stand, then a custom hook. The key is to measure accurately and iterate quickly. Use online resources or tutorials to speed up learning.
-
Step 4: Find Reliable Sources for Practical Models
If you’re not designing, use sites like Thingiverse, Printables, or Thangs, but filter for functional categories. Look for replacement parts, tool holders, and organization solutions. Remember: a print that saves you $10 at the hardware store is worth more than a dragon that sits on a shelf.
-
Step 5: Calculate Your Savings
Keep a log of what you print and what it would have cost to buy the equivalent item. For example: a custom clip that costs $0.50 in filament vs. $5.00 retail. After a month, total your savings. That number is your printer’s contribution to your budget.
-
Step 6: Scale Up – Print for Others
Once you have a few successful practical designs, offer them to friends or neighbors. Charge a small fee for material and labor. You can also sell on Etsy or at local markets. Even a few orders a month can offset the printer’s initial cost.
Source: www.xda-developers.com -
Step 7: Maintain Discipline – Avoid the Cool Print Trap
It’s temptating to print a cool helmet or flexi-rex because everyone else is doing it. Set a rule: for every “fun” print, you must print two practical ones first. Stick to it, and your printer will stay profitable.
-
Step 8: Optimize Your Printing Process
Use drafts settings for prototypes, but for final functional parts use strong infill (20-40%) and proper materials. Learn to print without supports when possible. Faster prints mean more output, so tweak your slicer settings for speed without sacrificing strength.
-
Step 9: Recycle Failed Prints and Scrap
Even practical prints fail sometimes. Collect failures and excess filament into a separate bin. Some companies accept scraps for recycling, or you can use them for mixing colors or making new filament at home.
-
Step 10: Track Your Printer’s ROI
Use a spreadsheet to record: cumulative material cost, electricity, time, and savings/revenue. Once total savings exceed the printer’s purchase price, you’ve earned it back. Celebrate that milestone—then keep going.
Tips for Success
- Start small: Print a simple hook or cable tie before tackling a complex bracket.
- Use cheap filament for prototypes: Save expensive specialty materials for final parts.
- Join communities: Forums like Reddit’s r/functionalprint offer inspiration and troubleshooting.
- Always measure twice: A few millimeters off can ruin a functional print—use calipers.
- Consider multipart prints: Sometimes printing several small parts is easier than one large one.
- Share your designs on free platforms to get feedback and help others.
Related Articles
- Mastering OpenAI Codex: A Step-by-Step Setup and Usage Guide
- Go 1.26 Type Checker Overhaul Targets Arcane Type Construction Pitfalls
- Swift Developers Can Now Write Self-Inspecting Code: Metaprogramming Tools Unveiled
- How to Create Declarative Charts and Master Iterators in Python
- Meta Unveils AI-Driven Configuration Safety System to Prevent Rollout Failures at Scale
- AMD GAIA 0.17.6: Open-Source Local AI Now Talks to Your Gmail
- Deploying AI Agents in Production: A Step-by-Step Guide for Enterprise Teams
- Mastering the Steady Pace of Programming Evolution: A Developer's Guide